Shred Day Prep: 5 Easy Steps to Clear Your Paper Clutter
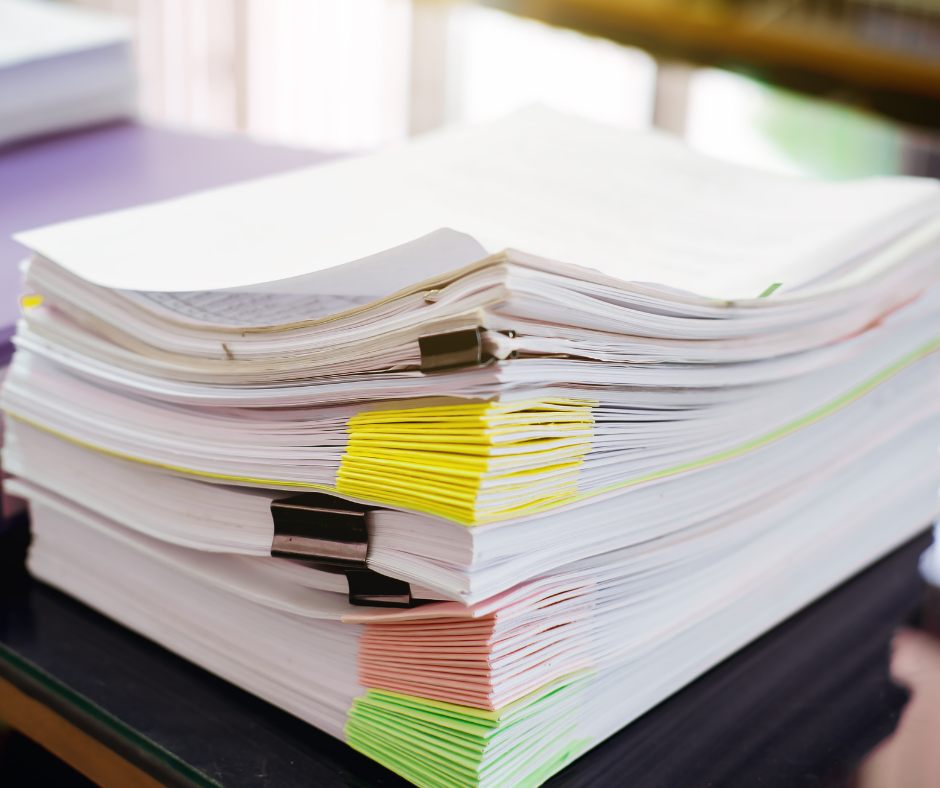
They’re somewhere — on the dining room table, behind closed doors, shoved in a drawer. You’ve got papers you’ve been meaning to go through since time immemorial… and now’s the time to finally tackle them.
Local friends: First Community Credit Union here in Jamestown is hosting a free shred day on May 2, 2026, and it’s the perfect deadline to clear out those paper piles once and for all.
Let’s keep it simple: here’s a 5-step plan for tackling your paper piles.
Step 1: Gather and Sort
Start by gathering all your paper piles into one place — a big table or open workspace is best.
Do a quick first pass. Toss obvious trash like empty envelopes, return envelopes, ripped pages, outdated flyers, and random scraps. Don’t worry about deep decision-making yet — just lighten the load. Plus, it feels good to start with easy wins!
Begin rough-sorting what’s left into broad categories. This isn’t about perfection — it’s just about seeing what you’re working with.

Here are some helpful category ideas:
Medical/Health
Financial
Retirement
Bills
Correspondence
Tax
Insurance
Records (vehicle info, birth certificates, etc.)
Catalogs/Magazines
Invitations or time-sensitive items
School papers
Kids’ art
Receipts
Warranties/Manuals
Some things will feel like they belong in more than one category — that’s okay! Don’t overthink it. This step is just about creating momentum and starting to find some clarity.
Step 2: Handle Each Pile One at a Time
Now that you have your categories, start going through one pile at a time. Keep these questions in mind for each paper:
Do I need to keep this for legal, tax, or reference reasons?
Is this the most current version of the document? (Toss outdated policies, statements, etc.)
Can I access this information online if I ever need it again?
Would Future Me thank me for keeping this? Or be annoyed that I did?
Keep a trash bag, a recycle bin, and a “to shred” box nearby — and use them liberally. The goal here isn’t perfection, it’s progress.
Step 3: What to Shred vs. What to Toss
Anything with sensitive information — names, addresses, account numbers, Social Security numbers, or anything you wouldn't want a stranger to find — should go in the shred pile. You can take care of them if you have a shredder, or drop them at a safe and confidential event like FCCU’s Shred Day.
Here are some ideas for what to shred:
Tax documents more than 7 years old
Bank statements, unless you need them for tax or legal purposes
Pay stubs (you only need the end-of-year one to compare with your W-2)
Medical documents with personal info you no longer need
Credit card offers and junk mail with your name on them
Anything with personal identifying info
What to recycle/toss:
Envelopes
Privacy policies from your bank or credit card company (they send a new one every year, and you know you don’t read them anyway.)
Expired coupons
Flyers, newsletters, or event notices that have passed
Owner’s manuals for appliances you no longer own
Owner’s manuals you don’t need, like for a lamp or rechargeable lighter
Duplicate art - let the kids choose their favorite drawing of the dog and let the rest go
School papers that are no longer relevant
Step 4: Keep What Matters

By now, your “keep” pile should be looking a little slimmer. These are the documents that matter — the ones you’ll want to organize and file soon. But today, we’re just trying to get the excess out of your house. So box those “keepers” up, label them, and set them aside for a future filing day (maybe with a fresh cup of coffee and a playlist you love).
Step 5: Prep for Shred Day!
Put your shred pile in a sturdy box or bag, and leave it out so it’s ready to go. First Community Credit Union’s shred day on May 10 here in Jamestown (check the link for other dates and locations) is a great opportunity to actually get it out of the house. Mark your calendar and feel good knowing you’re finally getting it done.
Bonus Tips for a More Enjoyable Paper Purge
Set a timer for 30 minutes so it doesn’t feel endless. If you don’t finish, take a short break before starting again.
Queue up a podcast or audiobook while you sort.
Take before-and-after photos. You don’t need to share them, but it’s so satisfying to see the progress.
If this feels too overwhelming to you, remember that I offer complimentary consultations. You’ll be so happy you tackled the paper, I promise.

You can be the boss of your papers.
I can help. Click the photo to contact me today.